Speci-Finder is a powerful tool on E1 that allows you to save keywords and find the right projects easily. It highlights projects of interest on the noticeboard, and sends you email notifications when new projects matching your keywords are available.
To access Speci-Finder, follow these steps:
- Go to Settings
- Click on Speci-Finder

There are different features depending on your subscription level, and we recommend watching one of the following tutorials for a step-by-step guide to setting up Speci-Finder:
Speci-Finder for Starter Supplier Subscription
Speci-Finder for the Standard Supplier Subscription
Speci-Finder for Professional and Professional Plus Supplier Subscriptions
You can also follow our step-by-step guide below
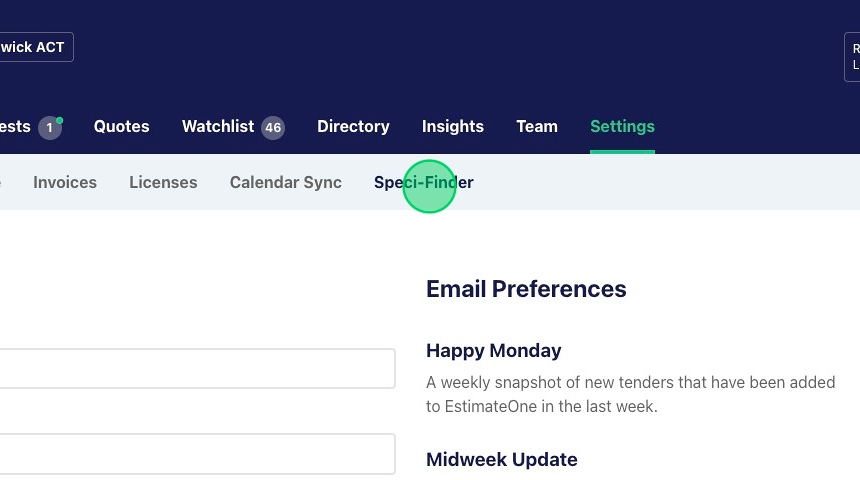
1\. Click ‘Settings’

2\. Click ‘Speci-Finder’
3\. Click ‘Create keyword’

4\. Add your keyword
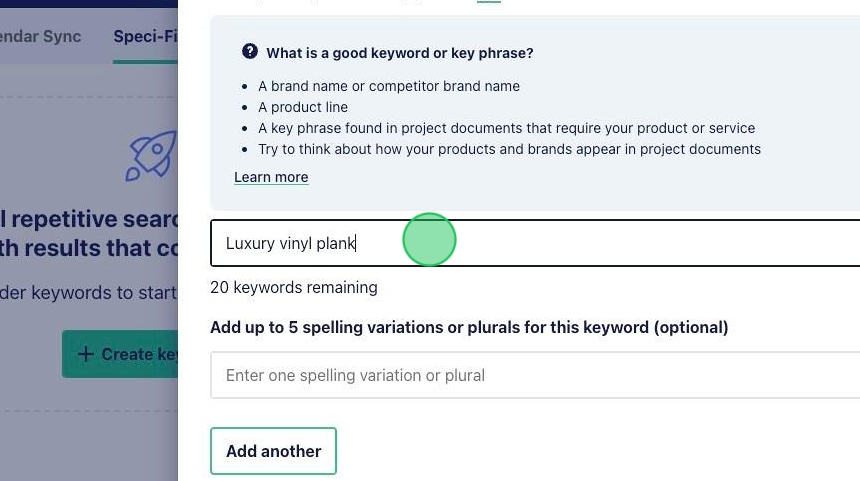
5\. Enter up to 5 optional spelling variations or plurals for your keyword

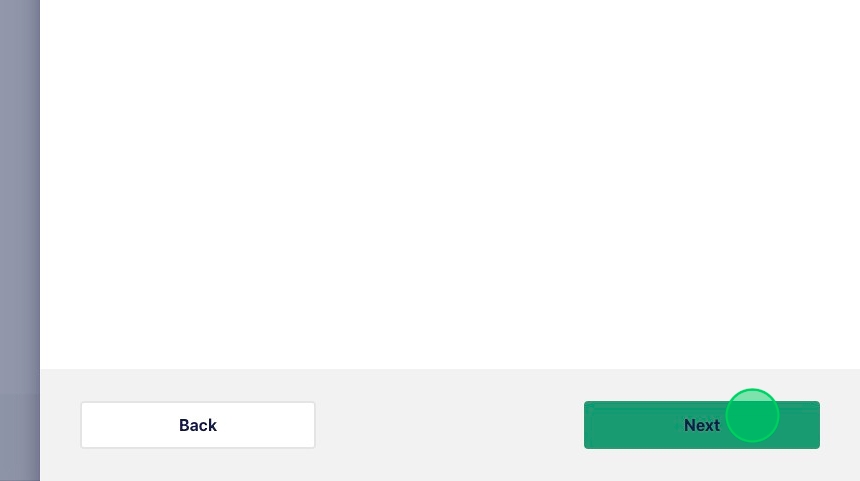
6\. Click ‘Next’

7\. Add any additional conditional matching criteria. This is optional and should be used sparingly.

8\. Click ‘Next’
9\. Select a category for your keyword

10\. Click ‘Save’ and repeat these steps for all additional Speci-Finder keywords.

11\. Once you have created your keywords, scroll down to the optional project filter section. Here you can refine your Speci-Finder notifications by budget, trade, distance and category.
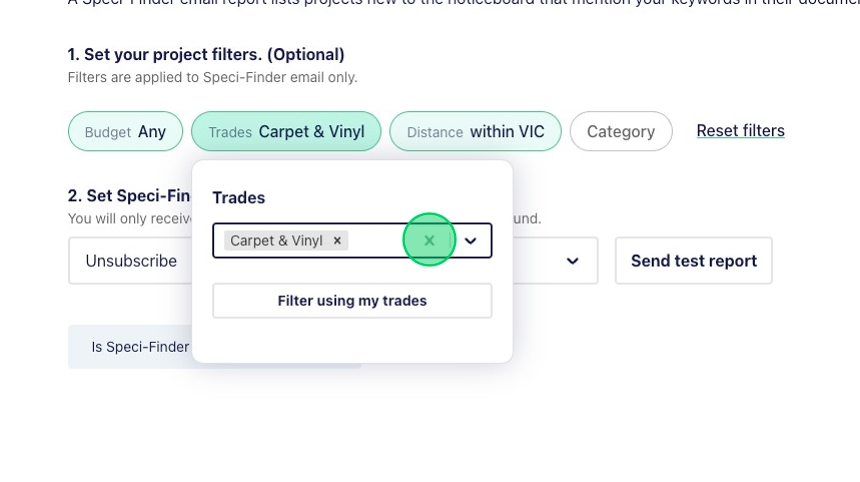

12\. You can now nominate the frequency of your Speci-Finder email notifications.

Click here to be taken to our FAQ on Speci-Finder for Suppliers